No products in the basket.
A warm and wonderful scarf with our yarns

Our customer Amelia Paset sent us a photo of her beautiful scarf made with our 2/13 100% recycled Cashmere yarn in purple .
The scarf has been worked with a refined braid technique , which gives a sophisticated and three-dimensional look to the fabric. This type of workmanship requires precision and attention to detail, but the result is an elegant and dynamic texture. At the edges, the ribbed workmanship guarantees elasticity and perfect shape retention over time.
But how do you work braided yarn?
Here’s a quick guide.
Materials needed:
- Knitting needles of the right size for your yarn
- A auxiliary iron for braids (can be an iron with a curve)
- Yarn of your choice (the recycled cashmere you mentioned is perfect for this type of work)
Basic pattern for a simple 6 stitch braid (crossed to the right or left)
Abbreviations:
- Right (D) : knit the stitch
- Purl (R) : purl the stitch
- FAT : auxiliary iron for braids
Steps:
Prepare the base:
- Cast on a number of stitches that is a multiple of 6 (if you want more cables) plus the stitches for the edges.
- Work a few rows in rib (e.g. knit 2, purl 2) to prevent the edge from puckering.
Set the braid pattern:
- Work the stitches as follows:
- Even Rows : Work the stitches as they appear (if you see a knit stitch, knit it; if you see a purl stitch, purl it).
- Odd row (e.g. 5th row, where the crossing occurs): Follow these steps for the cast-off:
- Work the stitches as follows:
Cross the braid (every 6 or 8 rows, depending on the desired effect):
Crossed braids on the right:
- Place 3 stitches on a cable needle and bring them to the back of the work.
- Knit the next 3 stitches.
- Pick up the stitches from the cable needle and knit them.
Crossed braids on the left:
- Place 3 stitches on a cable needle and bring them to the front of the work.
- Knit the next 3 stitches.
- Pick up the stitches from the cable needle and knit them.
Repeat the pattern:
- Continue working for another 5-7 rows without crossing, then repeat the crossing to create the cable effect along the entire work.
Helpful Tips:
✅ If you want a more pronounced effect, try using more stitches for the braid (for example, 4 over 4 instead of 3 over 3).
✅ If you are a beginner, practice with a small sample first to get used to the crossovers.
✅ Braids look best when alternated with purl stitches (for example, 2/2 ribbing on the sides of the braid).
![]()
![]()
Follow Us on Youtube

Latest products
-
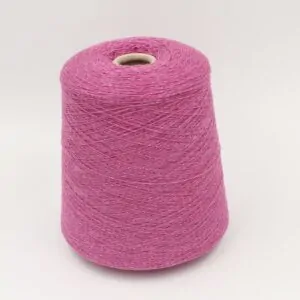
 FONDUE 52% merino 37% cashmere 11% PVM nm 18000 color pink cones 620gr Original price was: € 55,80.€ 31,00Current price is: € 31,00.
Previous lowest price was € 31,00.
-
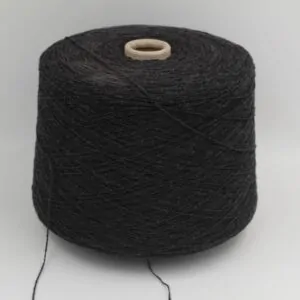 ALTER-ECO yarn 97% cashmere 3% wool merino nm 2/12 color anthracite cones 400gr Original price was: € 56,00.€ 40,00Current price is: € 40,00.
Previous lowest price was € 40,00.
-
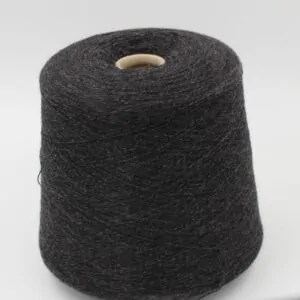 ALTER-ECO yarn 97% cashmere 3% wool merino nm 2/12 color dark grey cones 520gr Original price was: € 72,80.€ 52,00Current price is: € 52,00.
Previous lowest price was € 52,00.
-
 Yarn 60% Cashmere 40% Polyamide nm 2/28 color white cones 500gr Original price was: € 60,00.€ 40,00Current price is: € 40,00.
Previous lowest price was € 40,00.
-
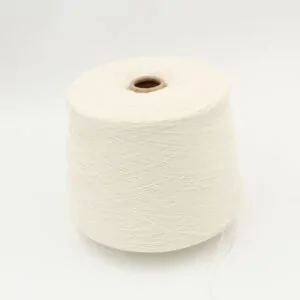
 100% Cashmere yarn nm 2/48 combed color natural white cone 400 gr Original price was: € 56,00.€ 48,00Current price is: € 48,00.
Previous lowest price was € 48,00.